Whether going to a salon is not an option or you need a few minutes of self-care, now is the time to master an easy at-home manicure and enjoy the relaxing benefits of painting your own nails.
With the right tools and tips, creating a polished result is simple.
Step 1 – File and shape nailsUse a gentle, wooden emery board to file nails into shape, only working in one direction and in long, sweeping curves from side to centre. Never file back and forth in a sawing motion as this will heat the nail, fray edges and encourage flaking. Try and not file deeply into the edges, as this will weaken the nail. |
 |
Step 2 - Buff nailsThis is an important step to smooth out the nail surface and produce a high gloss finish. Nail polish holds better on a smooth surface and the buffing action activates blood circulation, stimulating growth and aiding in the penetration of treatment products. First use the grey buffer to soften ridges on the nail. Then stroke the pink buffer back and forth with long, firm movements to polish the nail. |
 |
Step 3 - Target cuticlesApply cuticle remover to soften the nail before using a manicure stick protected with cotton wool to gently push back the cuticles. Take care not to push too hard and cause damage to this sensitive area. Never cut your cuticles unless excess dry skin has hardened and splintered from the side of the nail contour. |
 |
Step 4 - Apply a base coatNot only does this step ensure that nails are not stained by polish but it helps to make your manicure last longer. |
 |
Step 5 - Apply a first coat of polishApply the first coat of polish in a thin layer taking care to use swift, long strokes from the base to the tip of nail. Try and keep the polish evenly spread. Shake the bottle prior to opening to promote colour uniformity and facilitate a smooth application. |
 |
Step 6 - Touch-up after the second coatAllow the first coat to dry completely before adding the second layer of polish, again following the same protocol above. If touch-ups are required, do so straight away with the easy-to-use Mavala Correcteur Pen. |
 |
Step 7 - Apply quick drying top coatFinally, complete your manicure with a top coat that not only delivers a touch-dry finish but will also enhance nail colour by leaving a brilliant sheen. Apply every 2 to 3 days for super long hold and shine. |
 |
Wants some extra tips?
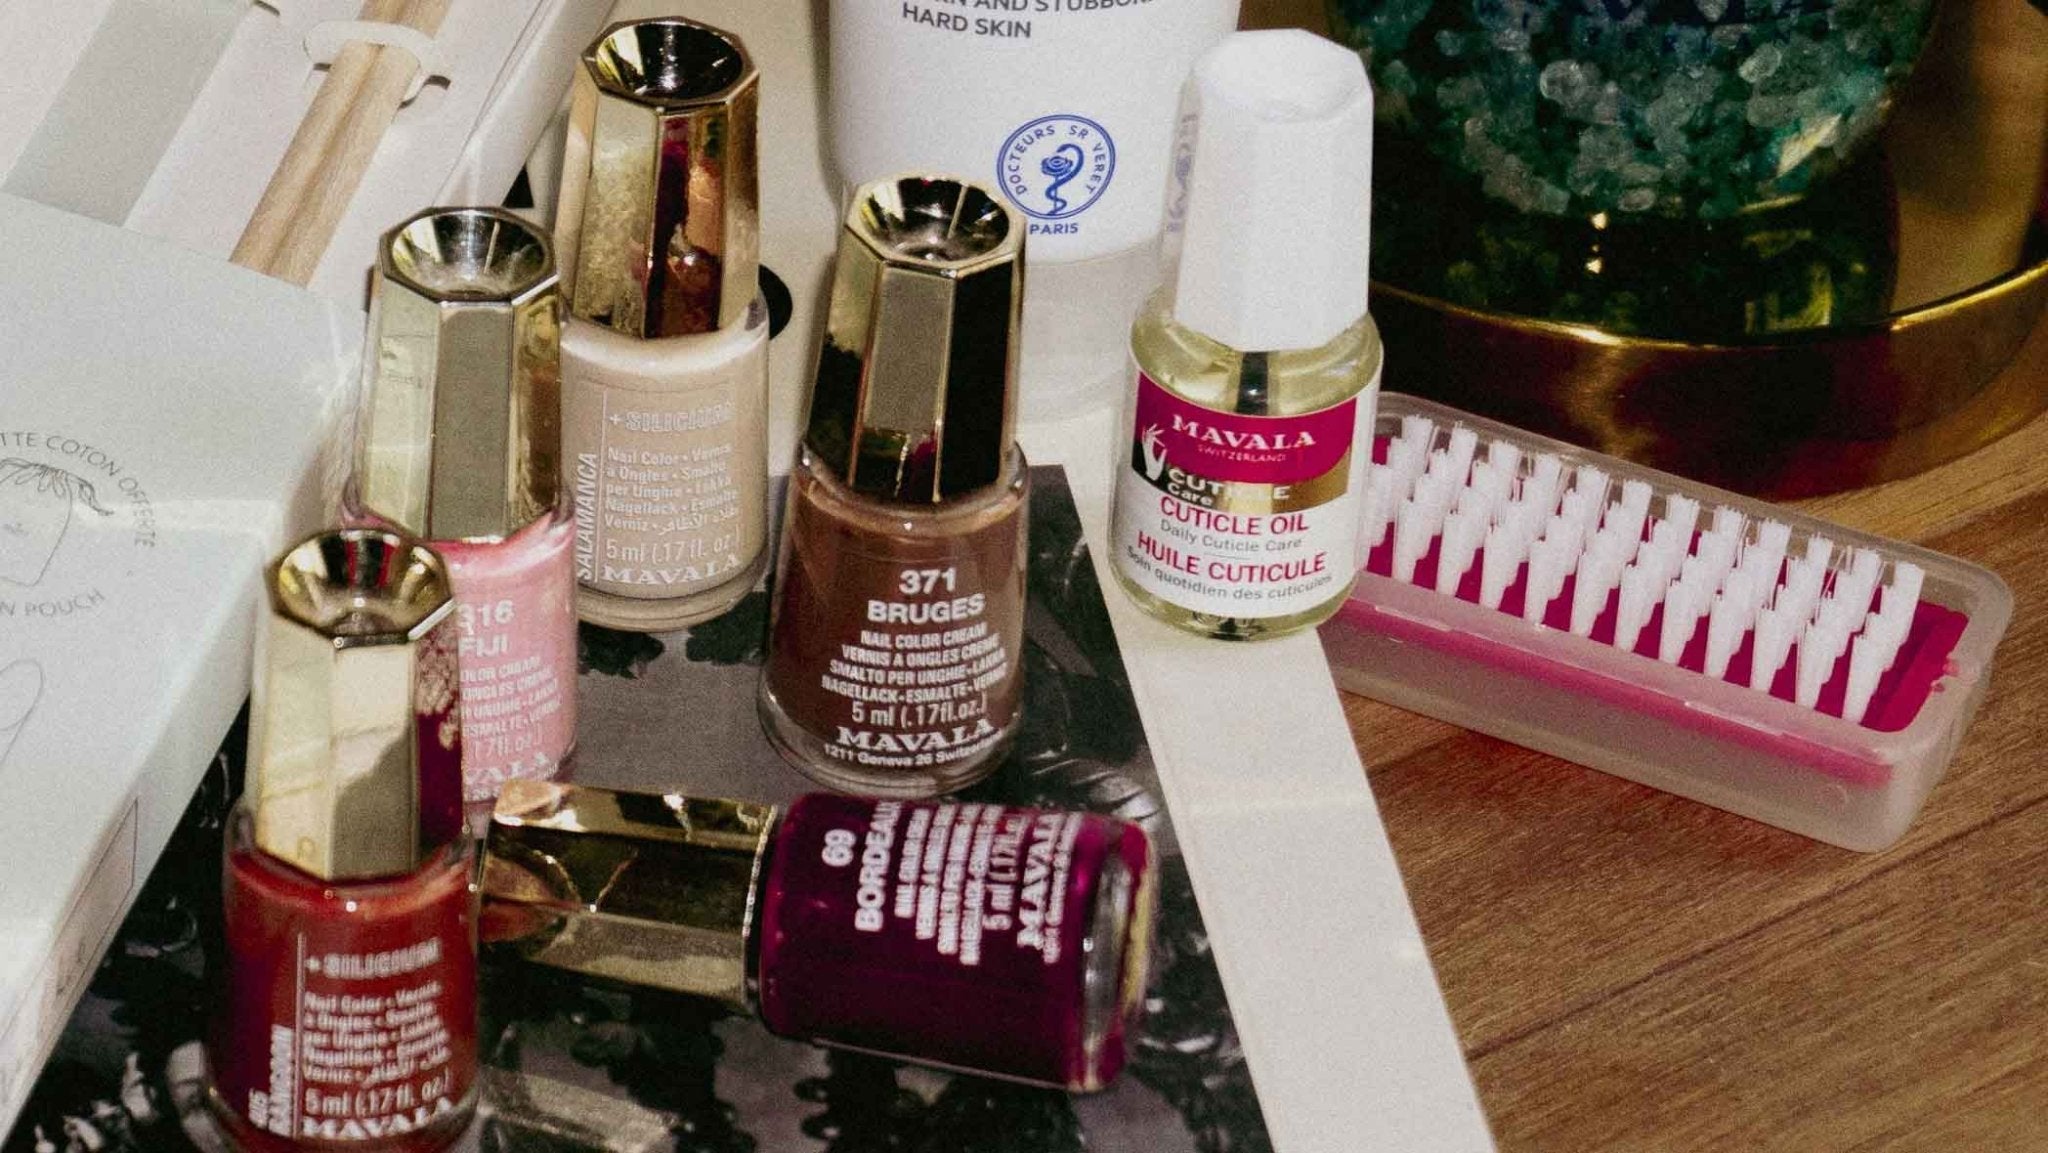
Nail trend tipWith the winter season upon us, rich, retro nail shades take centre stage and the new Retro Collection has something for everyone. |
|

 |
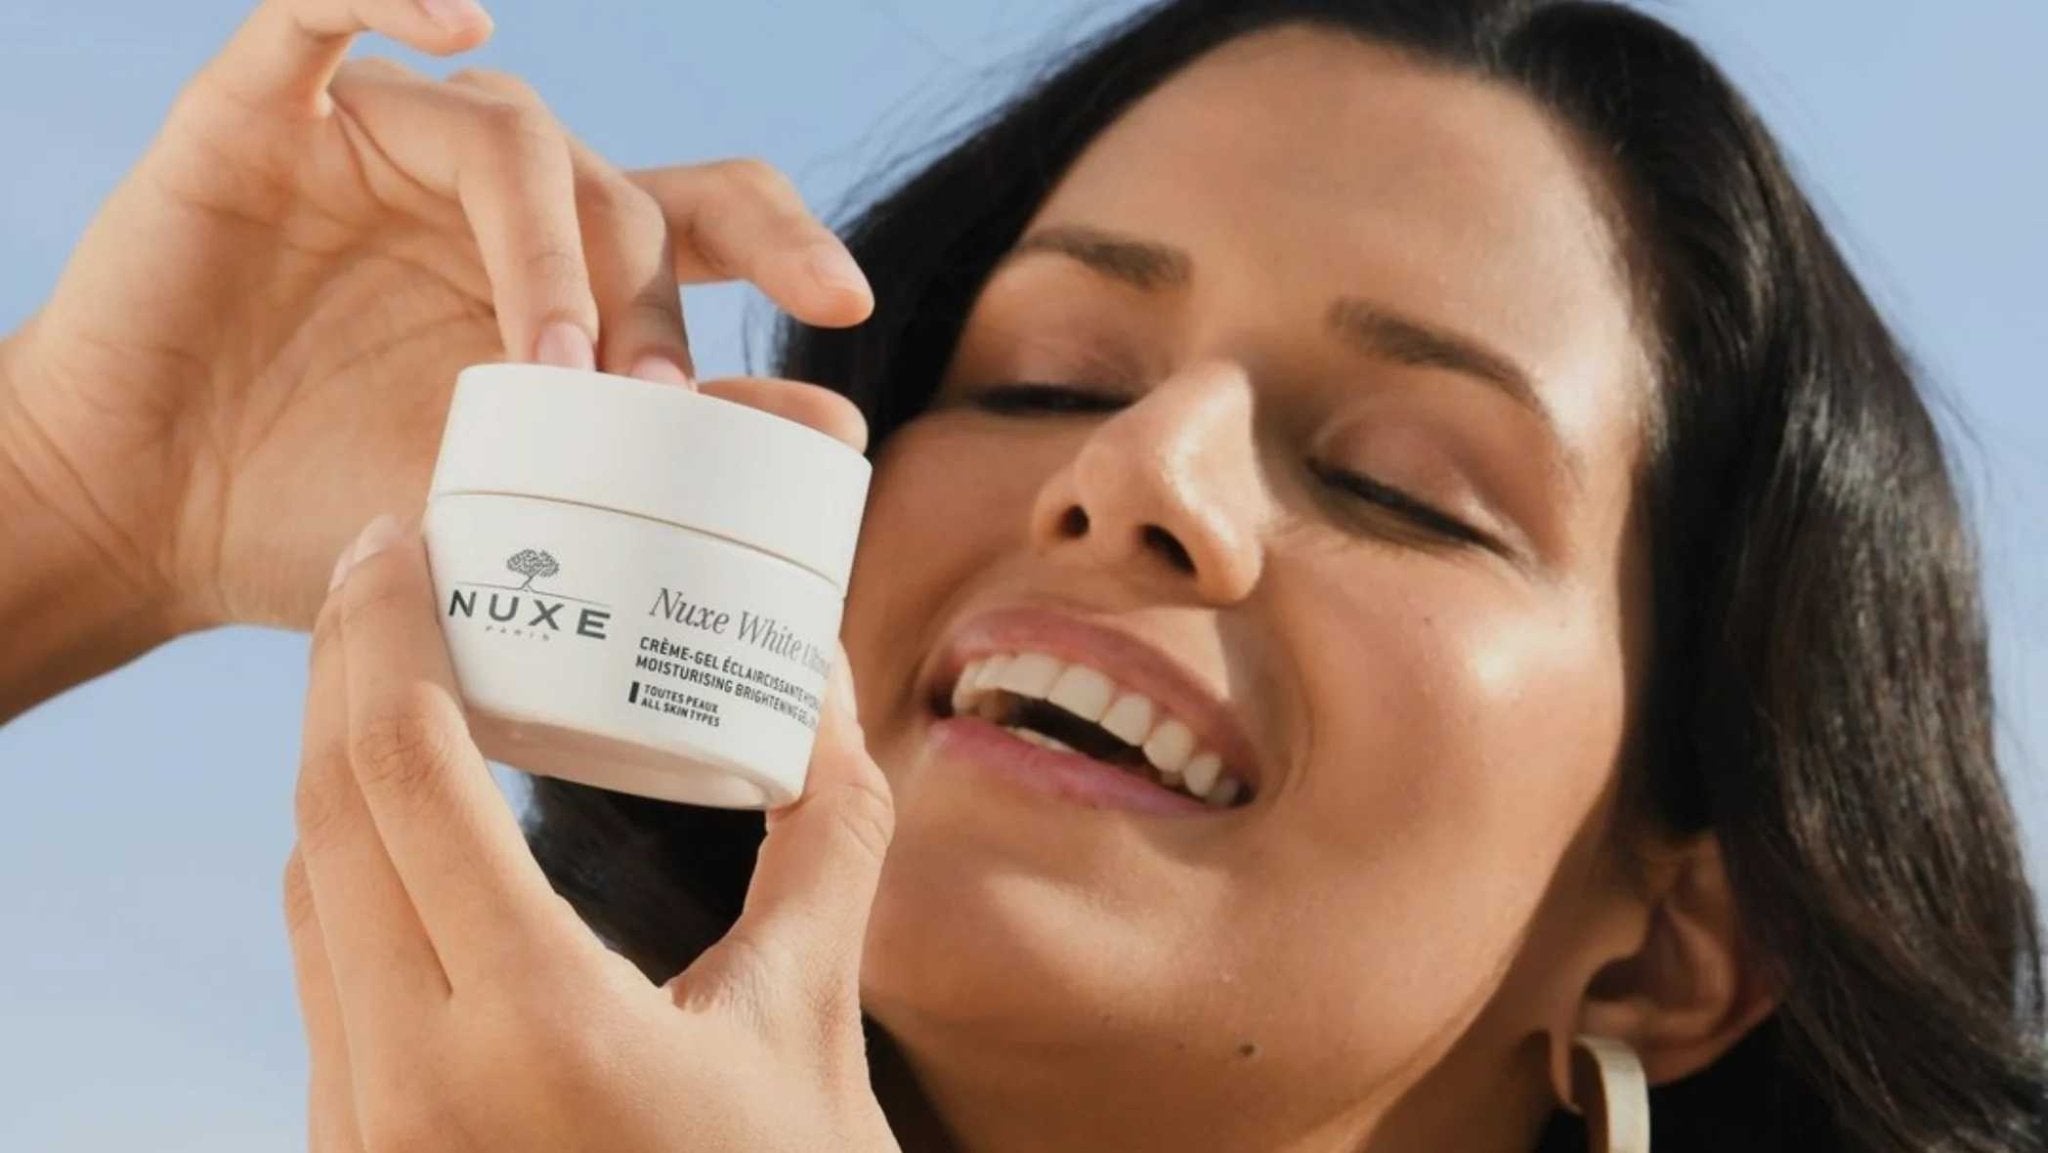
Hand care tipSoft, well hydrated hands complement a manicure, so don’t forget to nourish this area with a rich hand cream, especially during this time of increased exposure to soap, hand sanitiser and water. |
Nail care tipIf you suffer from a specific nail concern, you may need to integrate a treatment solution prior to Step 4 or the base coat application. For further information visit Mavacademy’s Nail Beauty Advice Centre to find the right Mavala Solution to your specific need. |
|